Roll A Ball Tutorial
Setup
I followed the Unity tutorial named Roll a Ball. It was a simple Unity project to understand the basics of making a game.
Most of the setup is basic, most of the work is already done for you, you just need to open a template. The only issue is that I was not able to create a URP (Univesal Render Pipeline) project because my version of Unity is too old, so I created a more basic 3D poject. It worked exactly the same, except for the look of the scene editor:
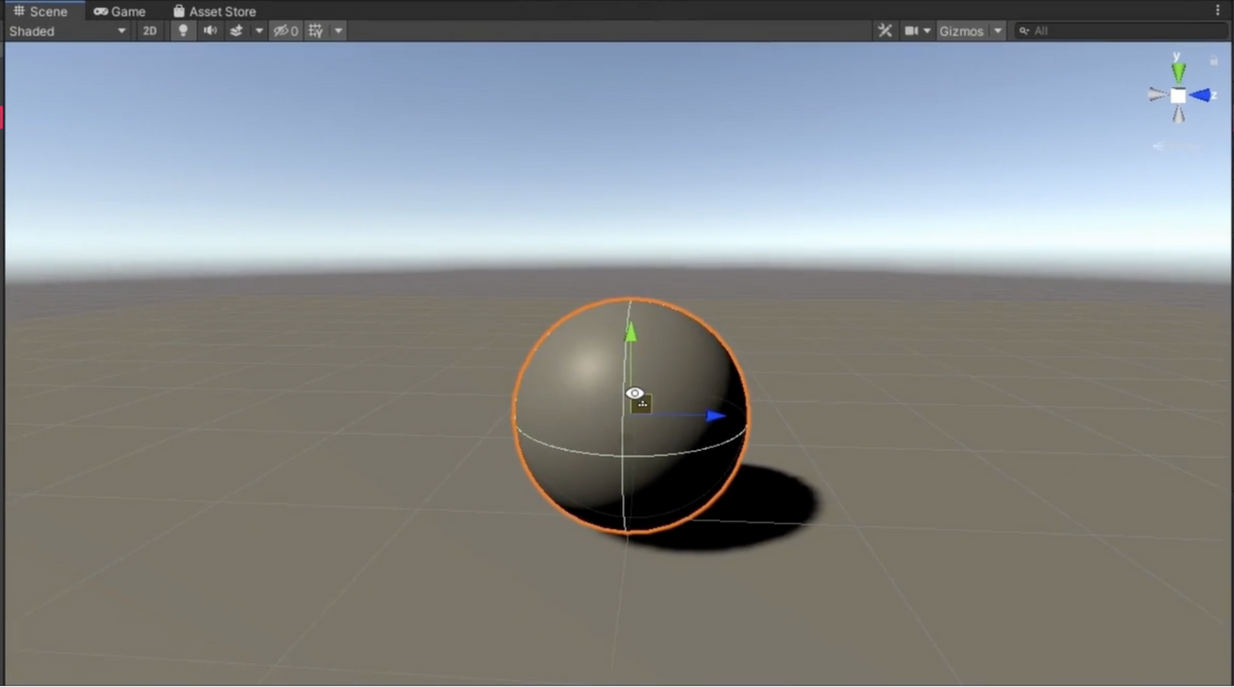 URP Scene
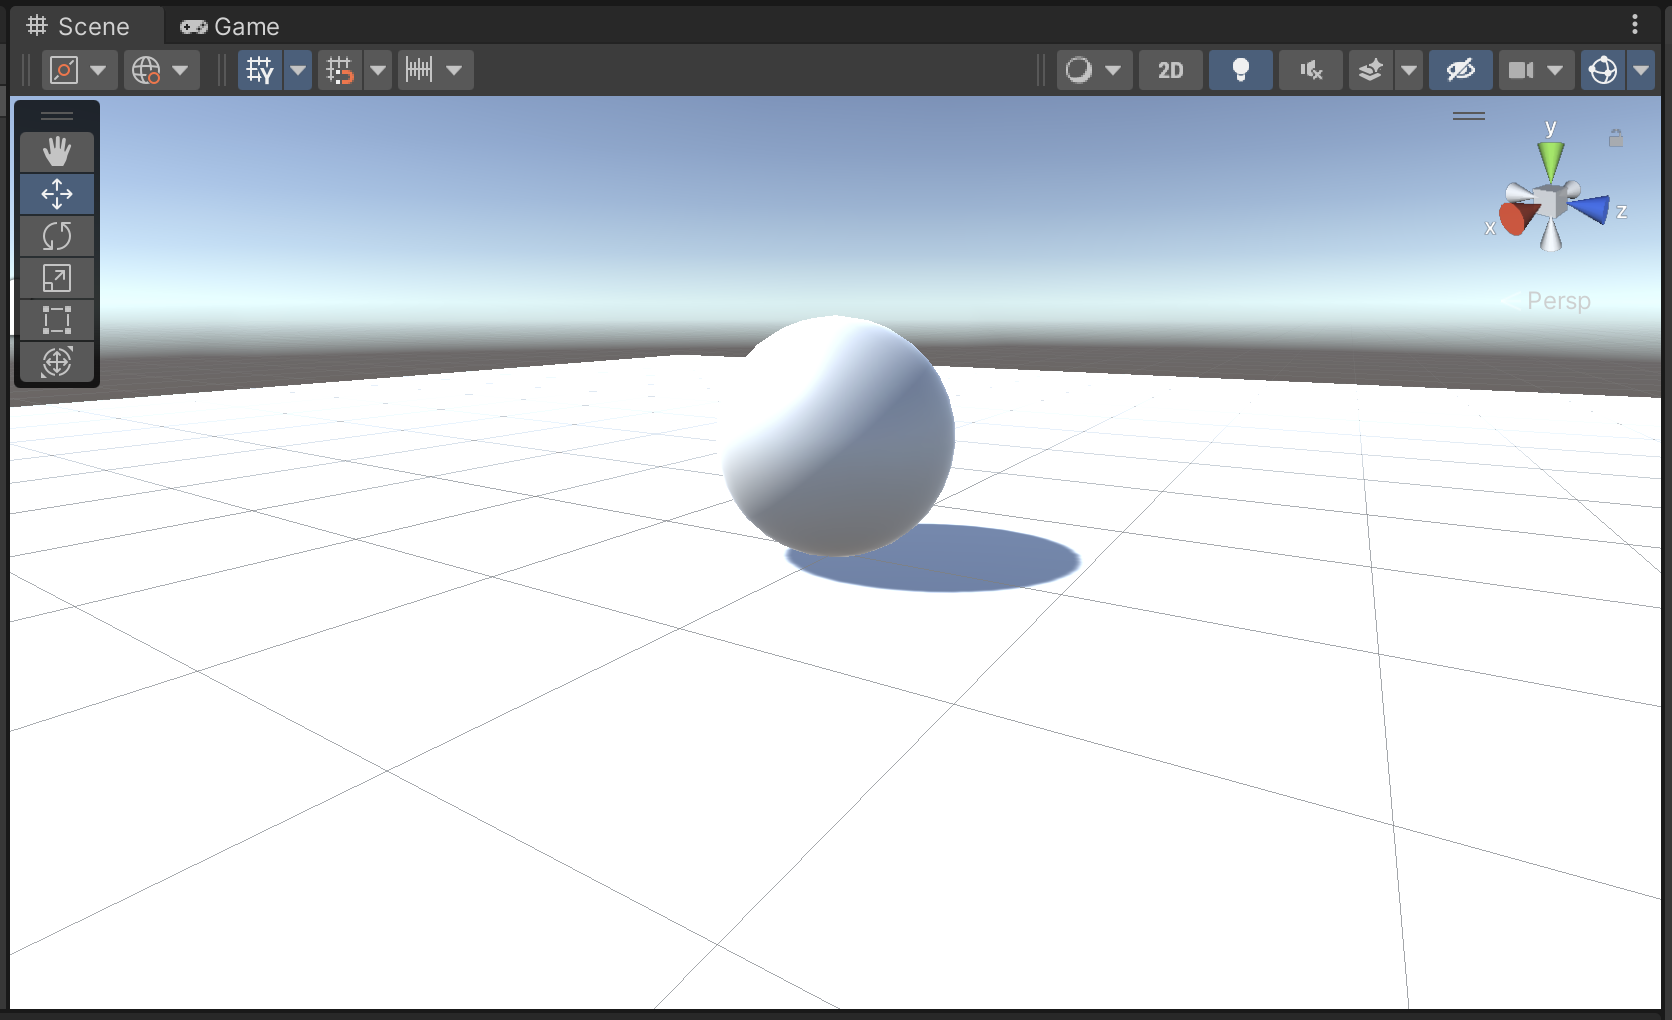 My Scene
First scripts
The first script is really basic, you just need to take the player input and add a force to the ball. All of the physics is done via the rigidBody, you do not have a lot of control, but it is really simple to use.
The next script waas just for the camera to follow the ball, really simple too.
Collectibles
The collectbles are more interesting. What you do is you create a prefab that stores the material, the script, etc, and then you just instantiate multiple of them.
To create make the player able to collect them, we add a collider and a tag that will make the collision with the player run the OnTriggerEnter(Collider other) method. We deactivate the pick up via the player code on collision.
Furthermore, to optimize a bit the progrtam, we add a rigidbody to the prefab so that unity considers it as a Kinematic object instead of a static one, which speed up the computations when moving (which is relevant here because pickups spin at each frame).
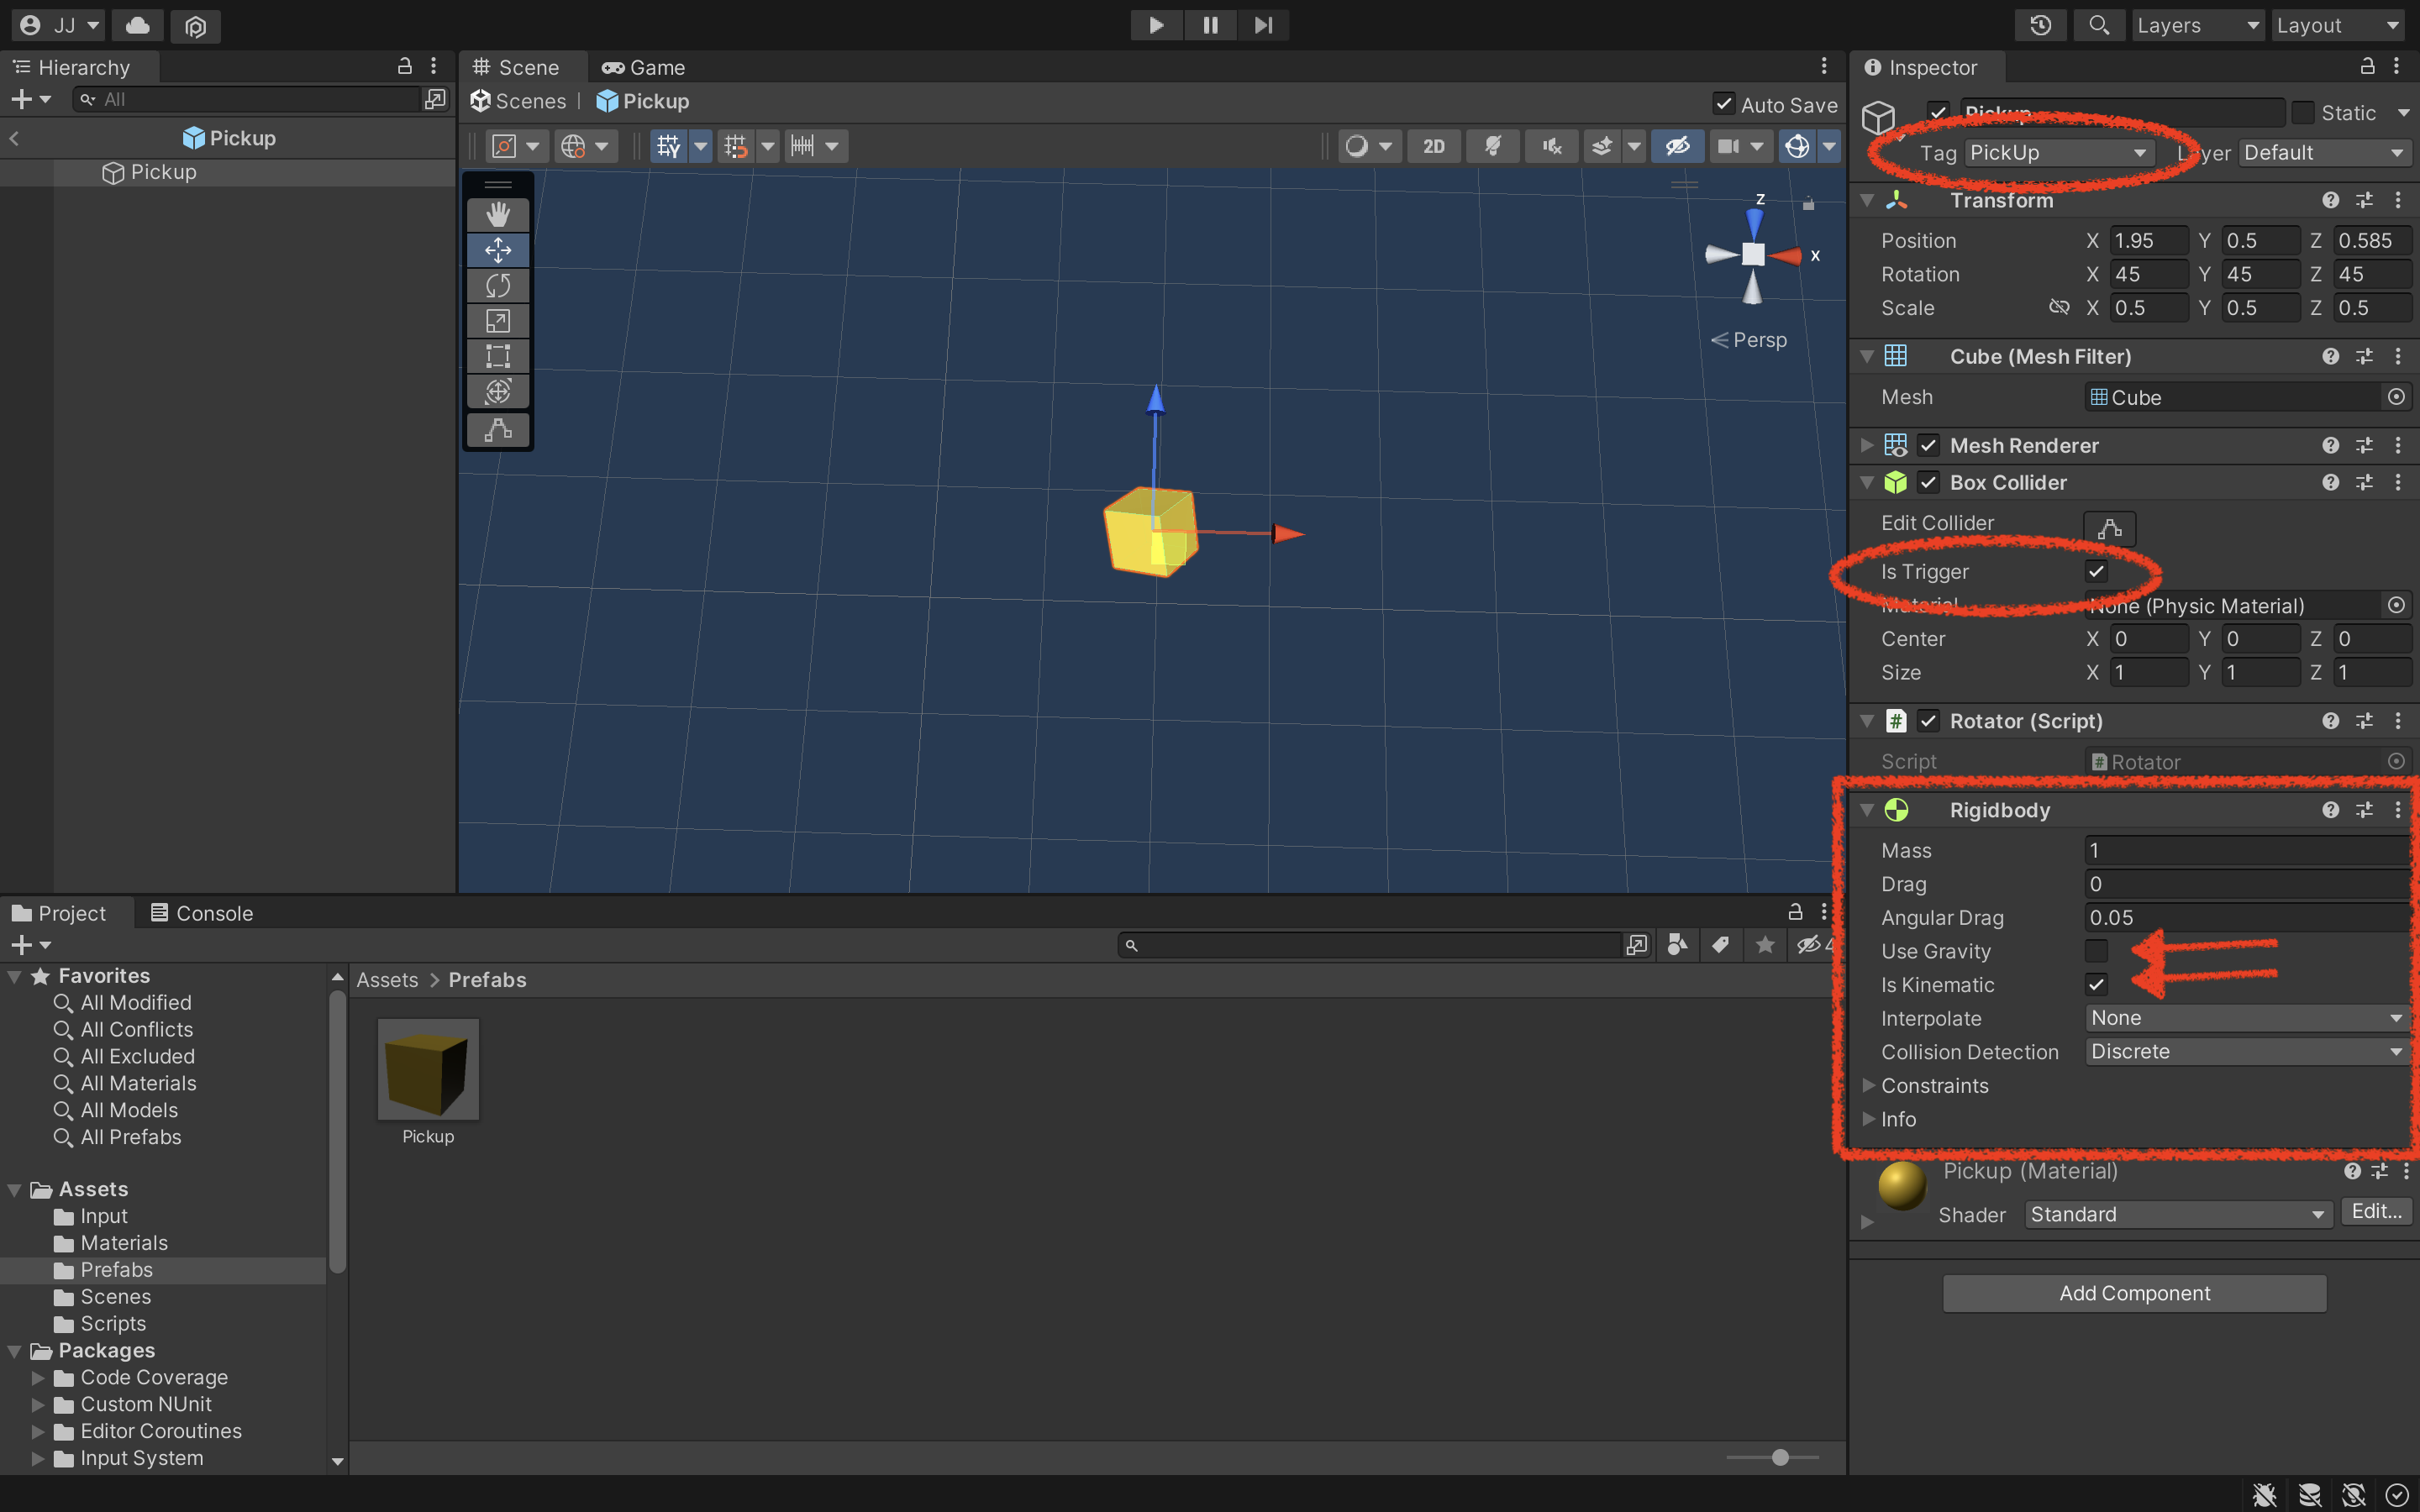 Collectible Prefab
Build
To share thus game, you need to build it, otherwise the player needs to have unity installed on his device to be able to run it. Building is really simple in unity, you just chse a few settings, your platform and hit build. Here, we decided to make the game run in a window instead of full screen as it does not have a menu to close it yet.
In MacOS, every gamefile is grouped into a single .app file which can be runned by itself
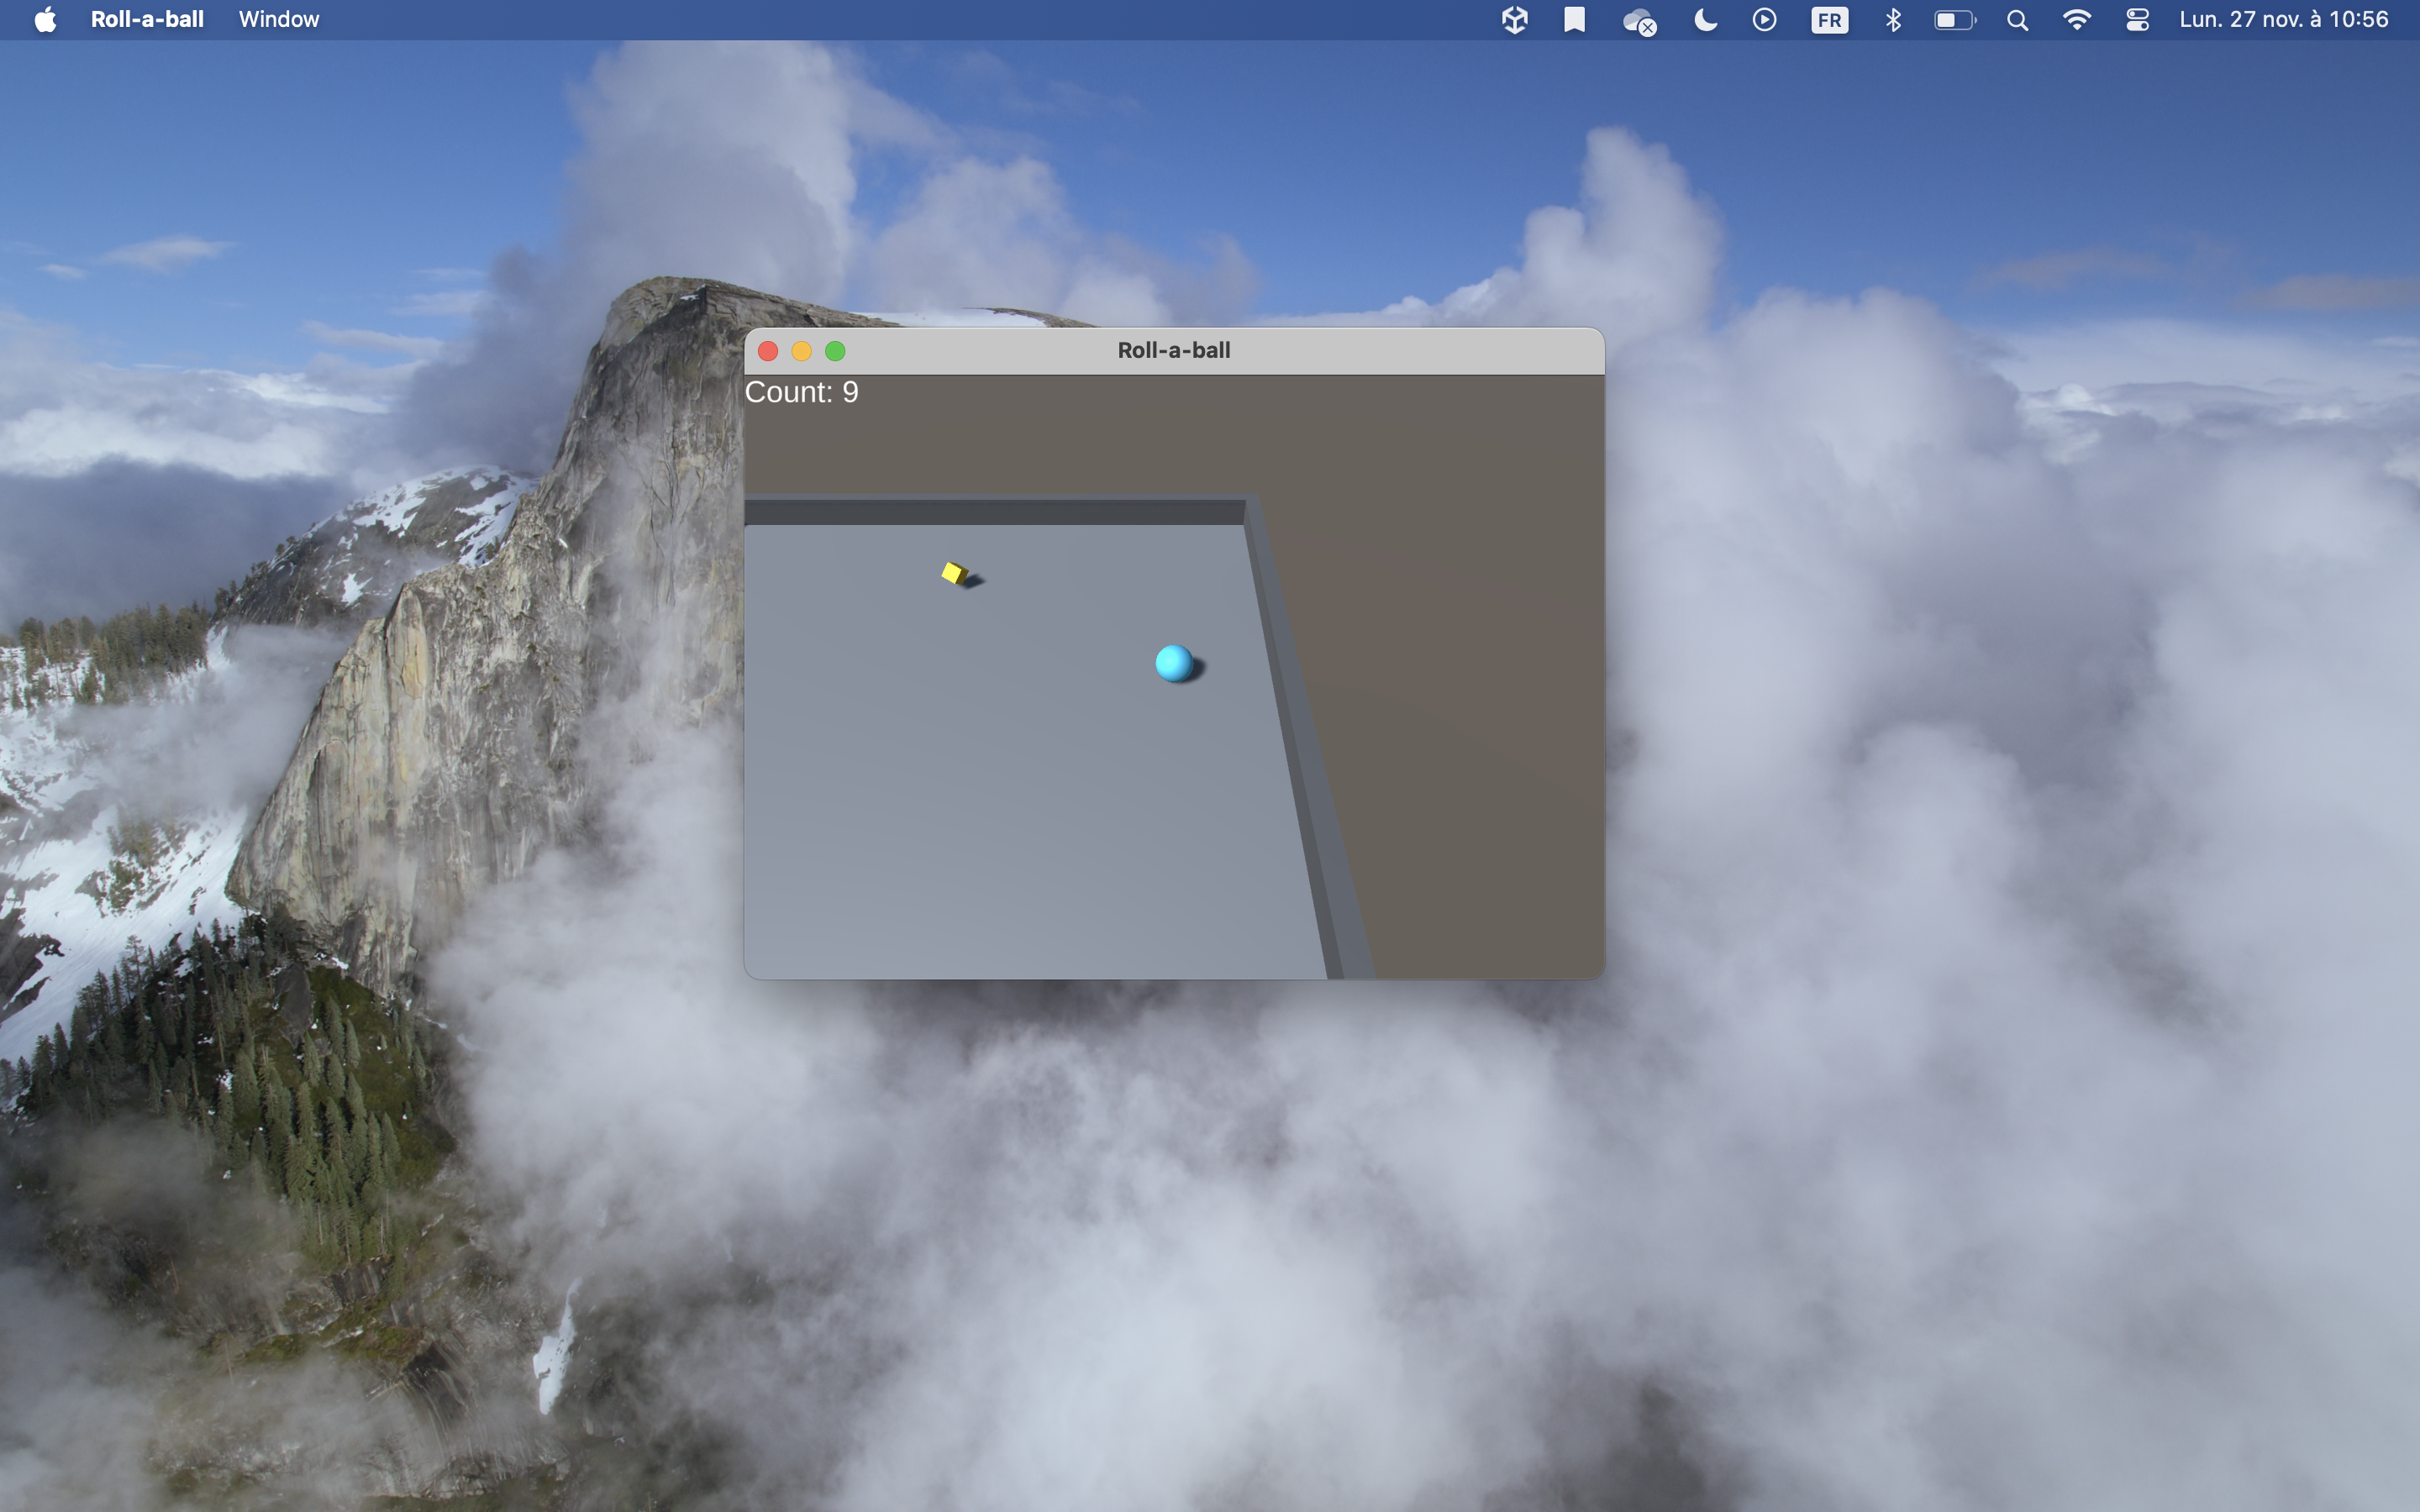 My game running as a standalone